Archives October 2025

Types of Woven Fabrics: A Guide to Plain Weave, Twill, and Satin

Woven fabrics are a cornerstone of textile arts, created by interlacing two sets of yarns at right angles. This process results in durable and versatile materials used in everything from clothing to home decor. In this comprehensive guide, we’ll delve into three fundamental types of woven fabrics: plain weave, twill, and satin. Understanding these basics can help artisans and enthusiasts choose the right fabric for their projects, whether it’s for crafting, fashion, or upholstery.

Let’s start with plain weave, the simplest and most common type. In a plain weave, the weft yarn passes over and under each warp yarn in a consistent pattern, creating a checkerboard-like structure. This weave is known for its strength and durability, as the tight interlacing makes it resistant to tearing and fraying. Common examples include cotton muslin, chiffon, and taffeta. Plain weave fabrics are often used for everyday items like shirts, dresses, and bed linens due to their balanced properties. They can be lightweight or heavy, depending on the yarn used, and are easy to dye and print on, making them a favorite for beginners in weaving.

Next, we have twill weave, which is characterized by a diagonal rib pattern. This is achieved by having the weft yarn pass over one or more warp yarns and then under two or more, creating a step-like progression. The result is a fabric that is softer and more pliable than plain weave, with a distinctive texture. Denim, gabardine, and herringbone are popular examples of twill weaves. These fabrics are prized for their durability and resistance to wrinkles, making them ideal for heavy-duty applications like jeans, workwear, and upholstery. Twill weaves also tend to drape well, which is why they’re often used in tailored garments.

Moving on to satin weave, this type is known for its luxurious sheen and smooth surface. In a satin weave, the weft yarn floats over several warp yarns before interlacing, creating long floats on the fabric’s surface. This structure reflects light beautifully, giving satin its characteristic luster. However, the long floats can make satin more prone to snagging and abrasion compared to other weaves. Common satin weave fabrics include satin itself, sateen, and charmeuse. They are often used in high-end fashion, such as evening gowns, lingerie, and accessories, as well as in home decor for items like pillowcases and draperies due to their elegant appearance.

Each of these woven fabric types has unique properties that influence their uses. For instance, plain weave is excellent for projects requiring stability, while twill offers flexibility and durability, and satin provides a touch of luxury. When selecting a fabric, consider factors like the intended use, care requirements, and desired aesthetic. Experimenting with different weaves can open up new creative possibilities in your woven crafts.
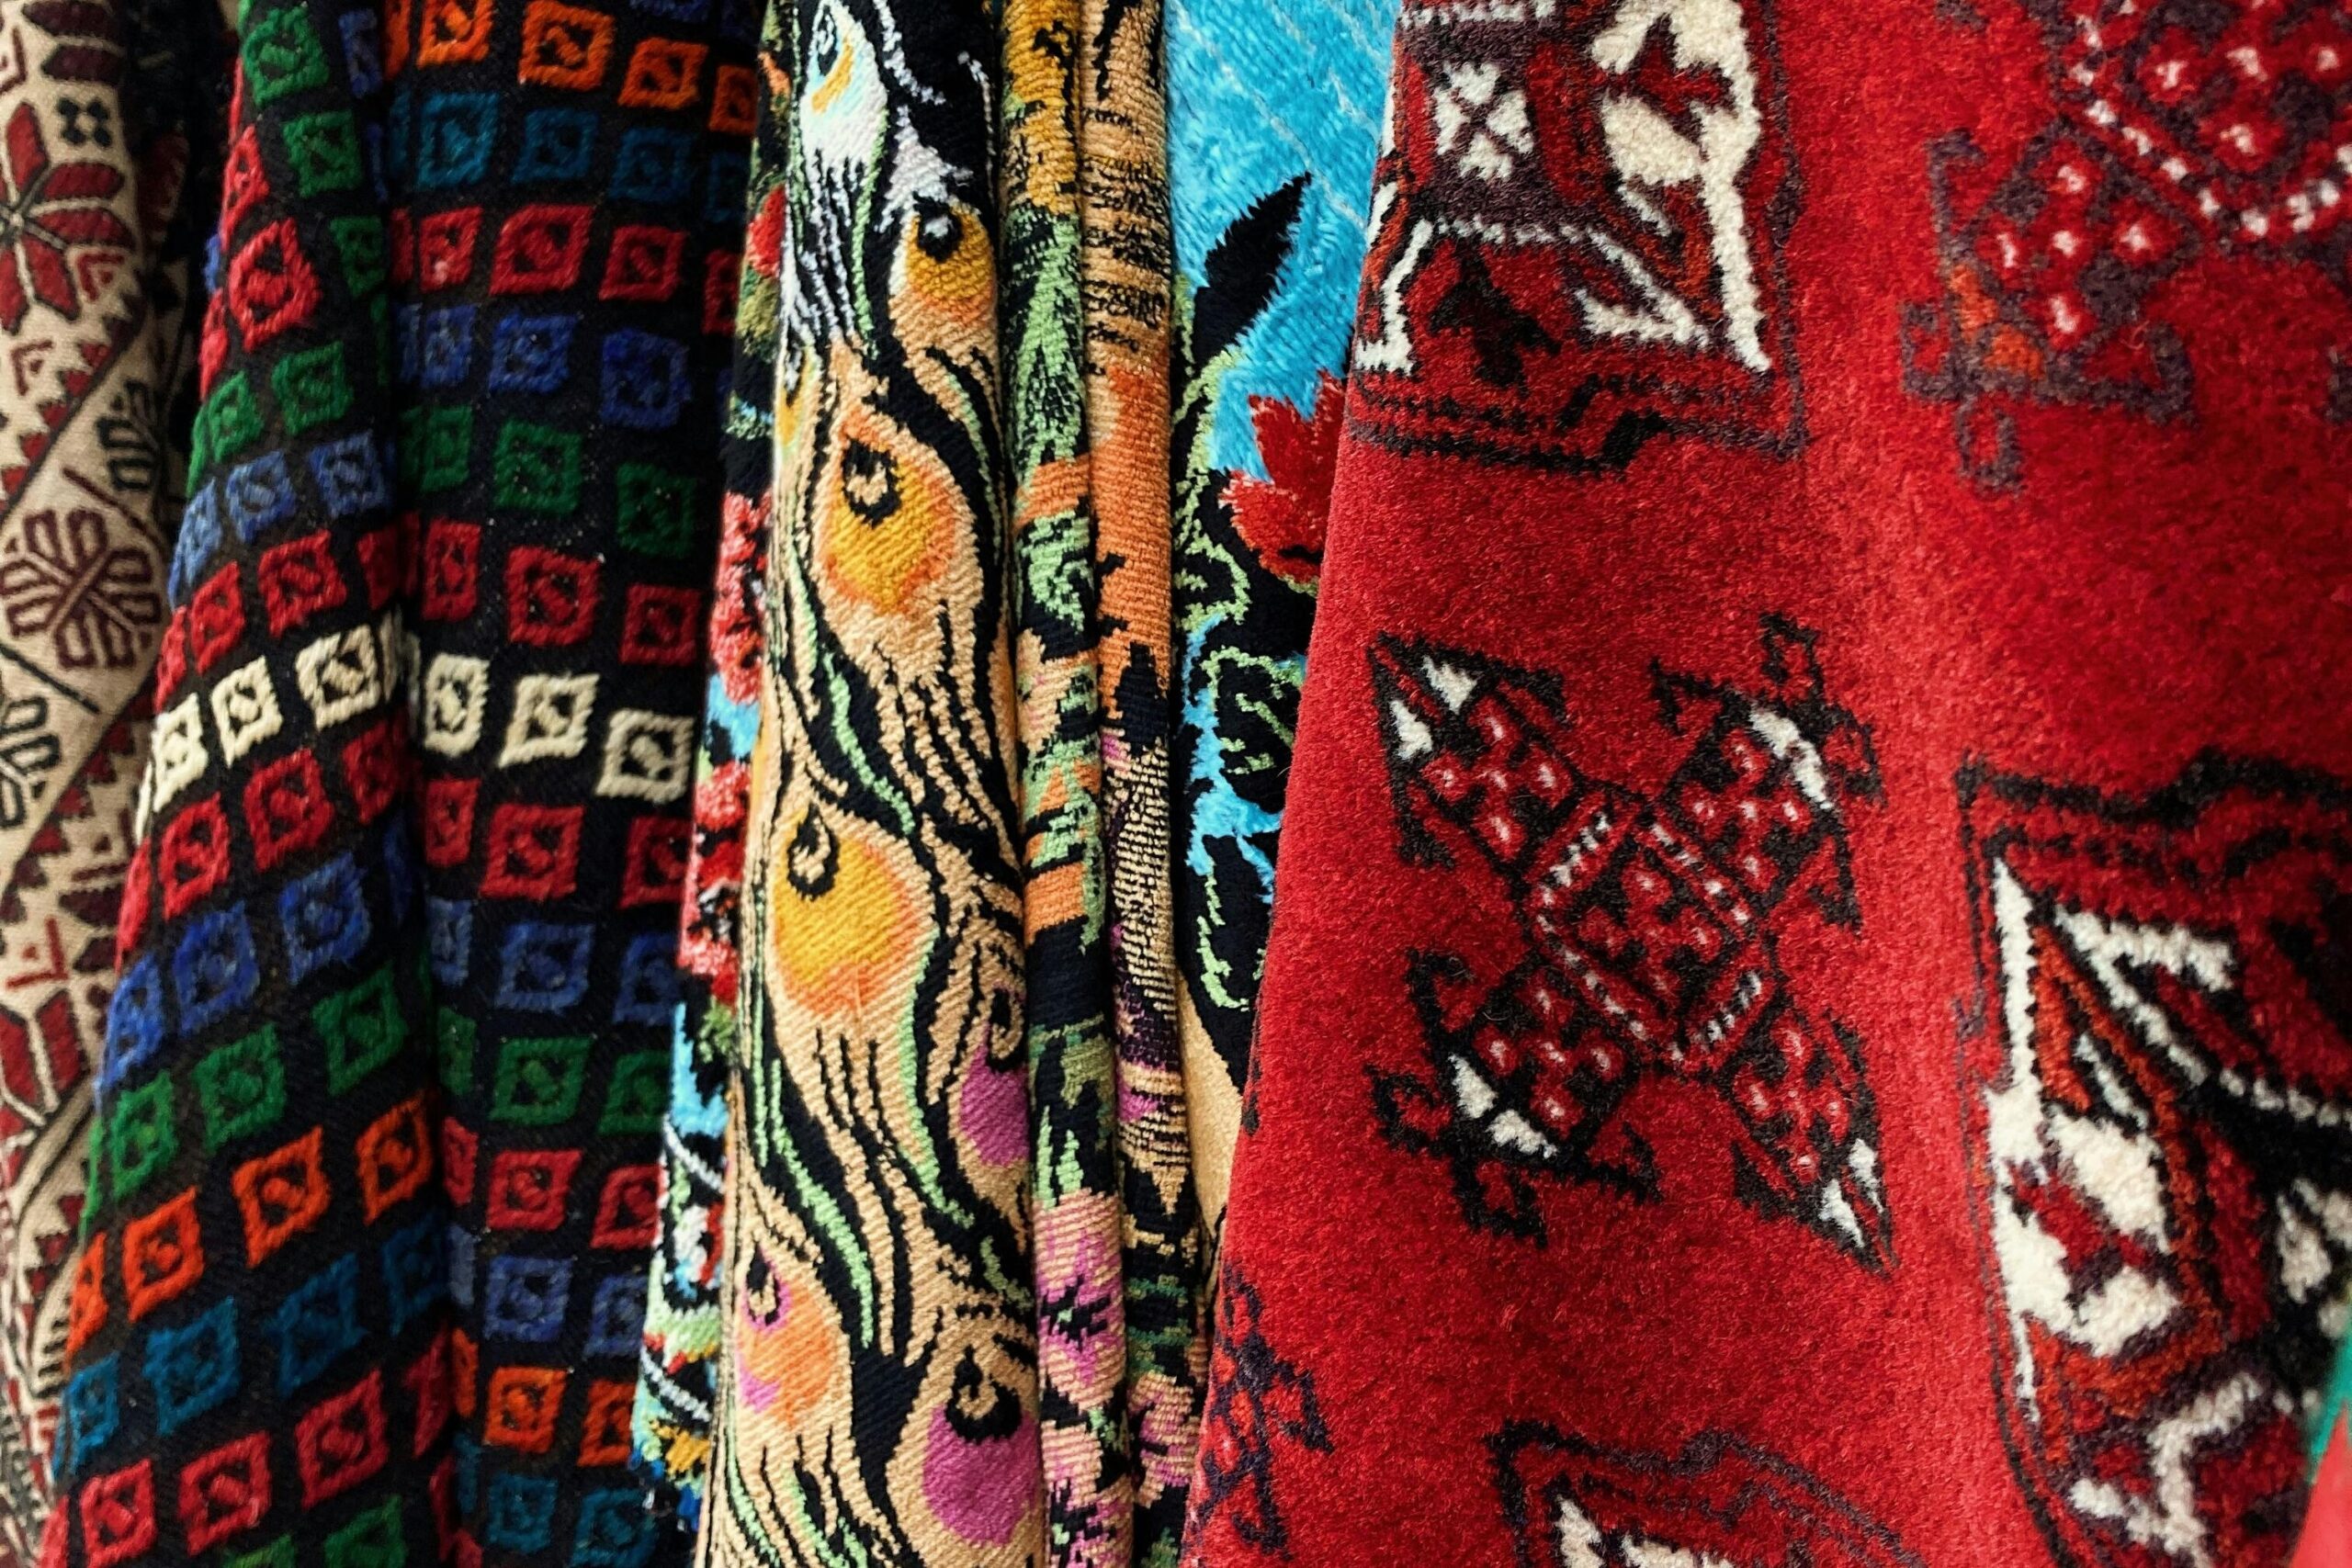
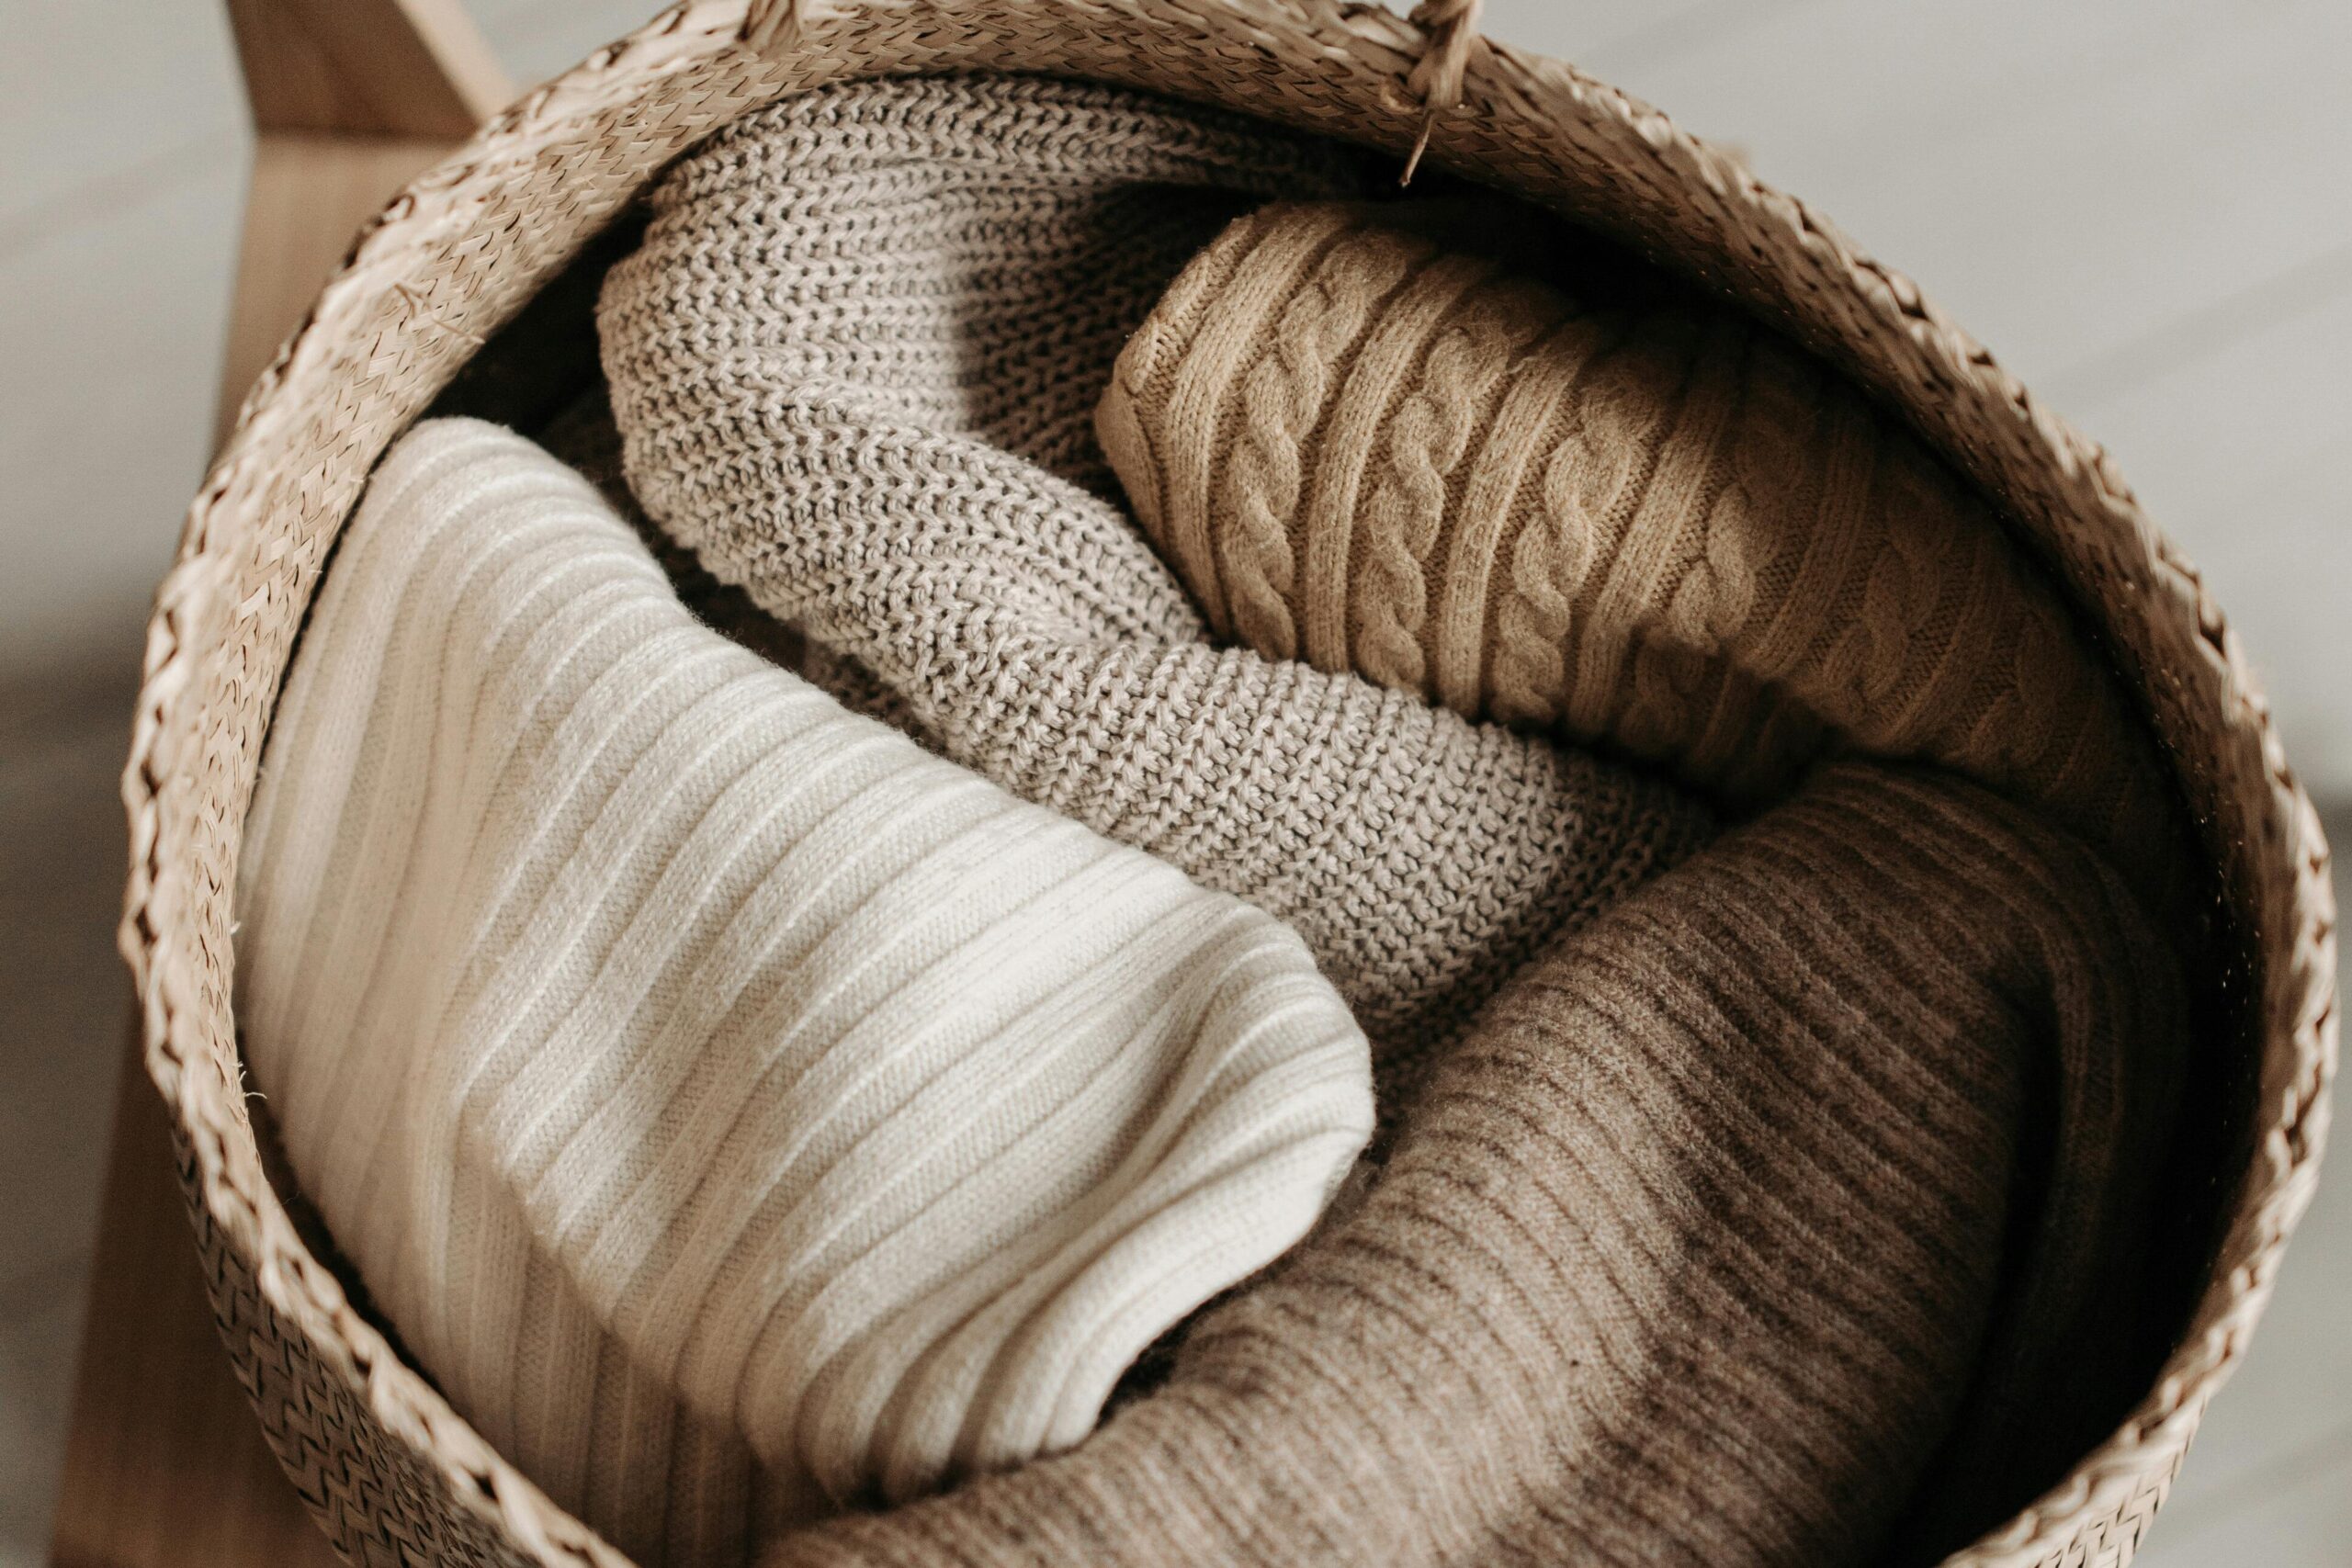
woven fabric

DIY Woven Wall Hangings: A Step-by-Step Guide for Beginners

Woven wall hangings are a fantastic way to add texture, color, and personality to any room. Whether you’re a seasoned crafter or a complete beginner, this step-by-step guide will walk you through creating your own beautiful woven art using yarn and a simple loom. With just a few materials and some patience, you can craft a unique piece that reflects your style and creativity.

To get started, you’ll need some basic supplies. Gather a simple loom—this can be a store-bought frame loom or a DIY version made from a wooden picture frame with nails or pins hammered along the top and bottom edges. You’ll also need yarn in various colors and textures, a tapestry needle, scissors, and a comb or fork for packing the weft threads tightly. Optionally, consider adding beads, feathers, or other embellishments for extra flair.

Begin by warping your loom. This involves setting up the vertical threads (the warp) that form the foundation of your weaving. Tie one end of your yarn to the bottom left corner of the loom and wrap it up and down across the nails or pins, ensuring the threads are taut but not overly tight. Space them evenly, about 1/4 to 1/2 inch apart, depending on the thickness of your yarn. Once you reach the other side, tie off the end securely. This warp will hold everything together as you weave.

Now, it’s time to start weaving the weft—the horizontal threads that create the pattern. Thread your tapestry needle with a length of yarn and begin passing it over and under the warp threads, row by row. For a basic plain weave, alternate the pattern with each row: if you start by going over the first warp thread in one row, go under it in the next. Use your comb or fork to gently push each row down toward the bottom, keeping the weave tight and even. This helps prevent gaps and ensures a sturdy finished piece.

As you gain confidence, experiment with different weaving techniques to add interest. Try the rya knot for a fringe effect by cutting short pieces of yarn and tying them in groups around the warp threads. Or, incorporate soumak stitches for a braided look by wrapping the weft yarn around the warp in a figure-eight pattern. You can also create shapes and color blocks by changing yarn colors mid-weave. Remember, weaving is forgiving—if you make a mistake, you can often undo a few rows and try again.

Once your weaving reaches the desired size, it’s time to finish it off. Carefully remove the piece from the loom by cutting the warp threads from the nails or pins, leaving enough length to tie them off. Group the warp threads into small bundles and tie them securely to form a neat edge or a fringe. You can also attach a wooden dowel or branch to the top for hanging. Weave in any loose ends with your needle to give it a polished look.

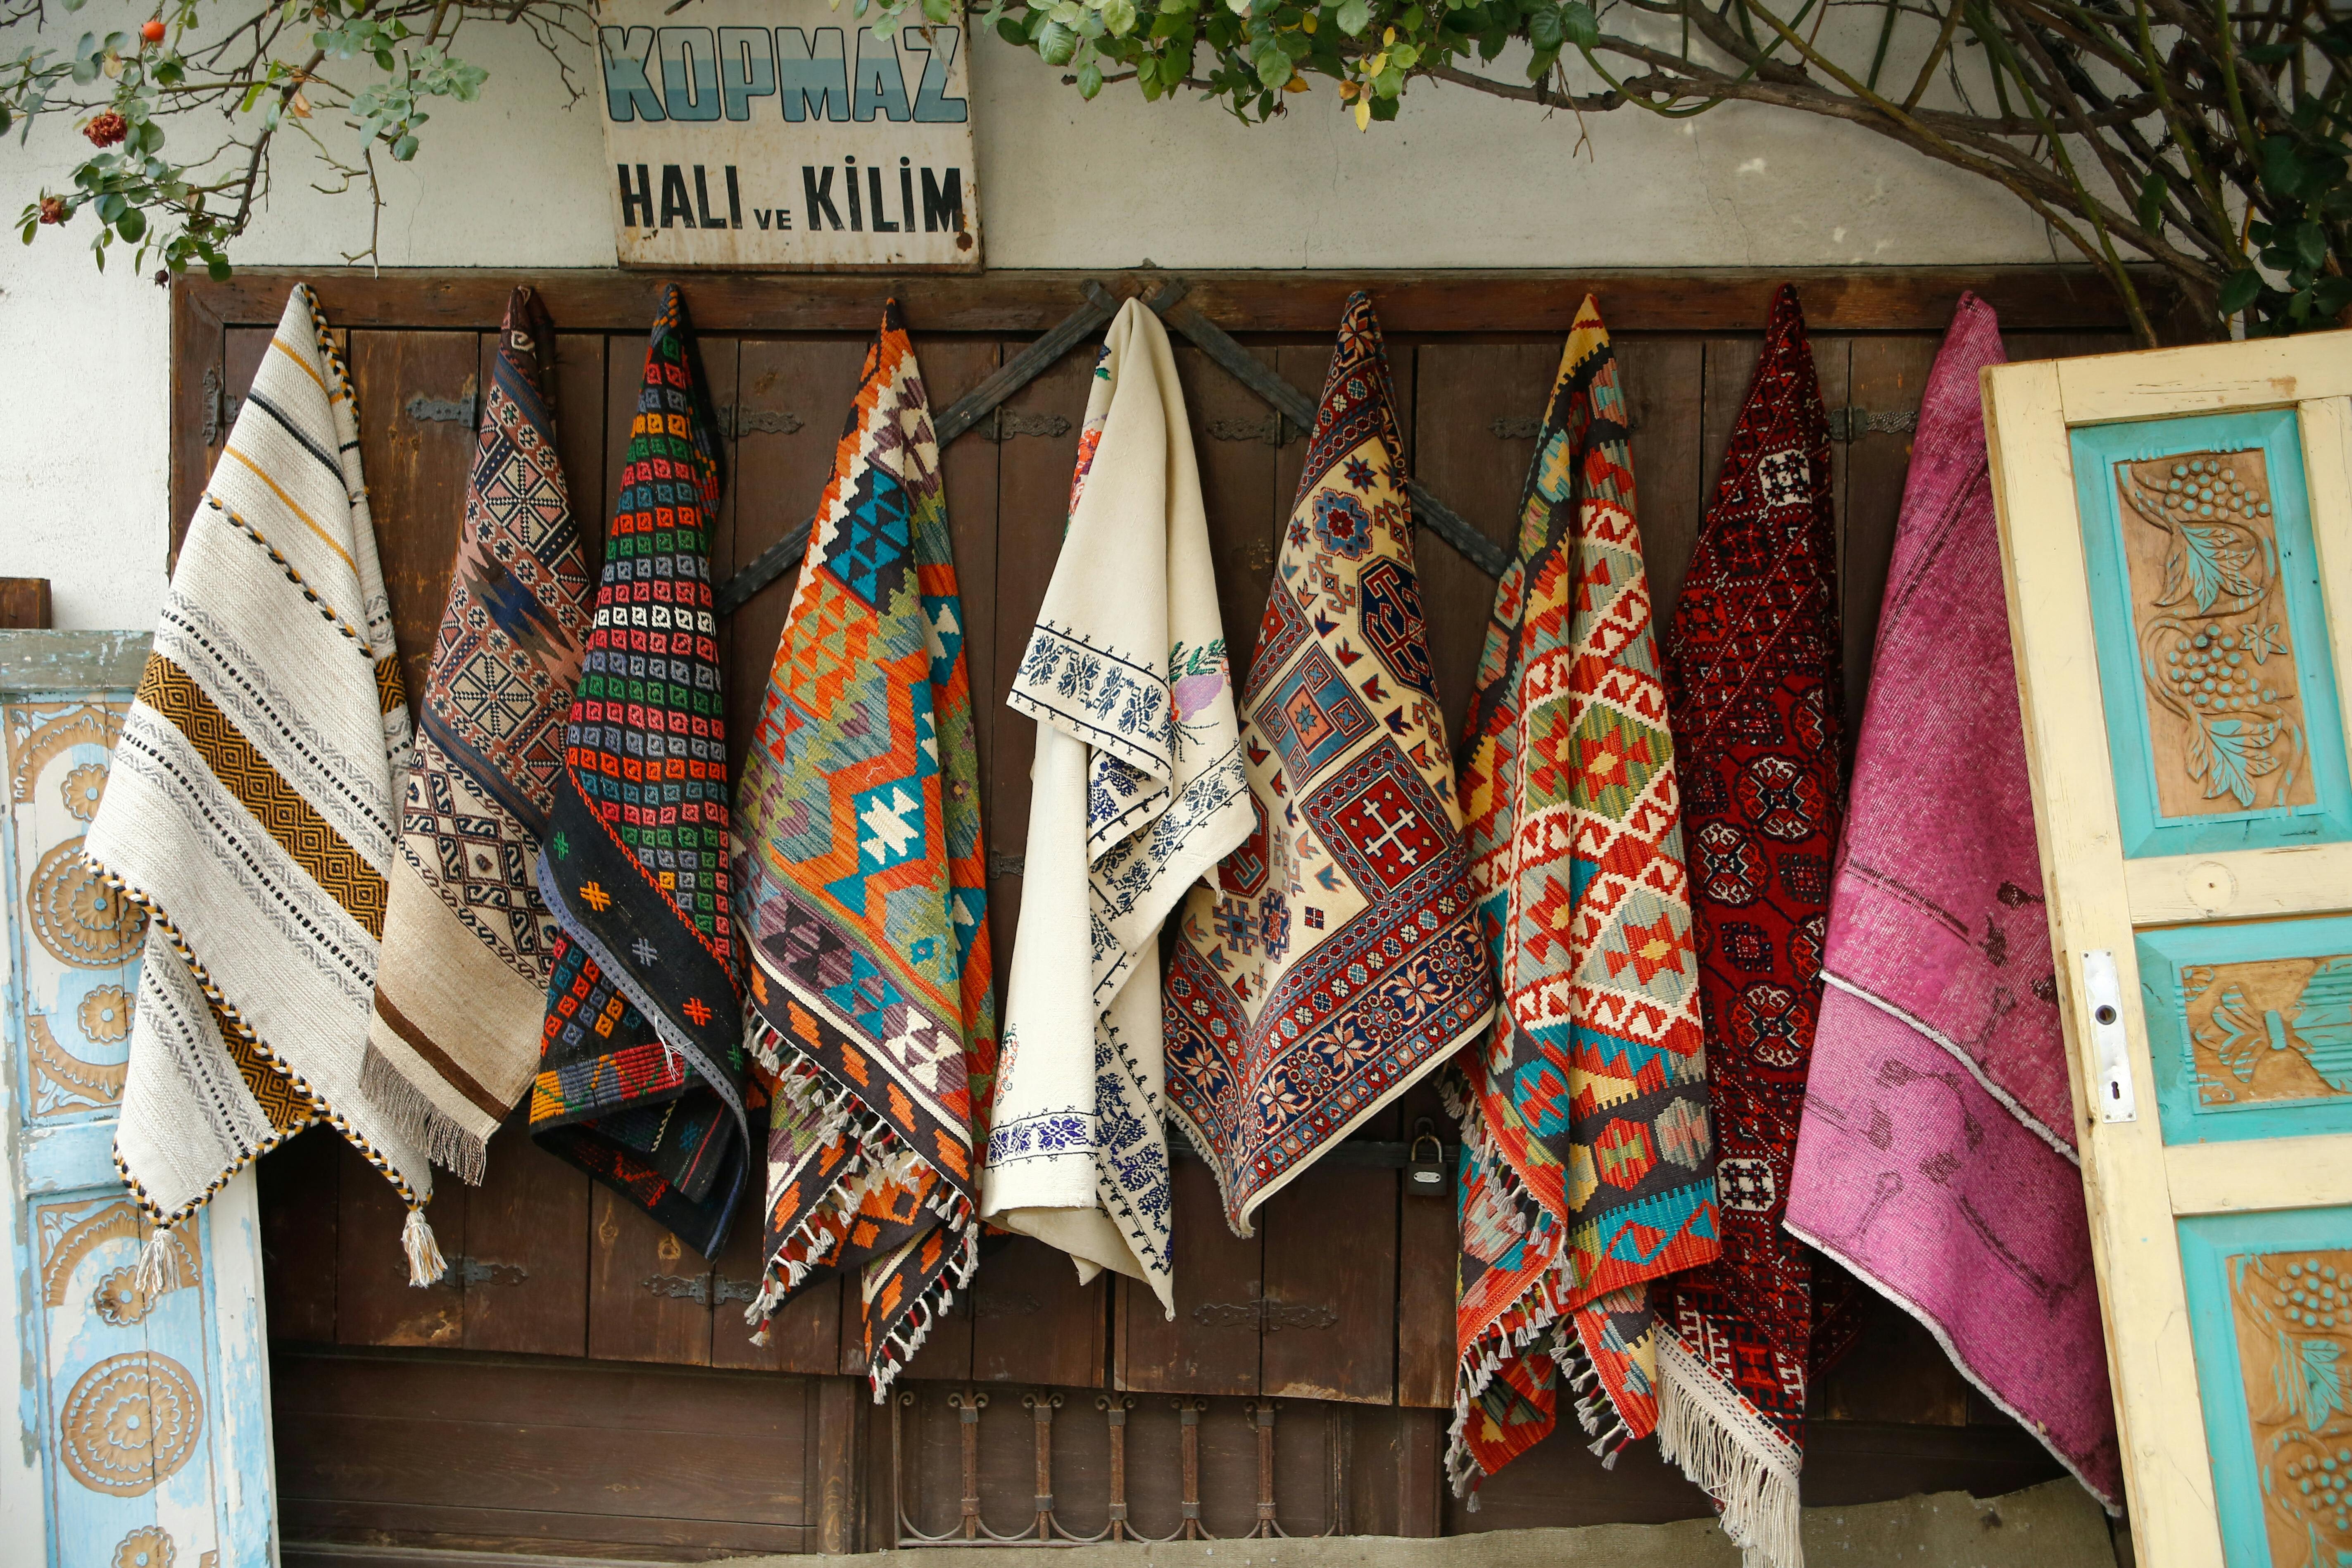
woven art

Hang your completed woven wall hanging in a prominent spot, like above a sofa or in an entryway, to showcase your handiwork. Not only does it serve as a beautiful decor piece, but it also tells a story of your creative journey. Weaving can be a meditative and rewarding hobby, offering a break from screen time and a chance to work with your hands. For more inspiration, explore online tutorials or join a local weaving group to share tips and ideas.

In summary, DIY woven wall hangings are an accessible craft that allows for endless customization. With practice, you can advance to more complex patterns and larger projects. Don’t be afraid to play with colors and textures—mix chunky wool with delicate cotton or add metallic threads for a touch of glamour. Happy weaving, and may your walls be filled with woven wonders!

Maintaining Woven Items: Essential Tips for Cleaning, Storing, and Preservation

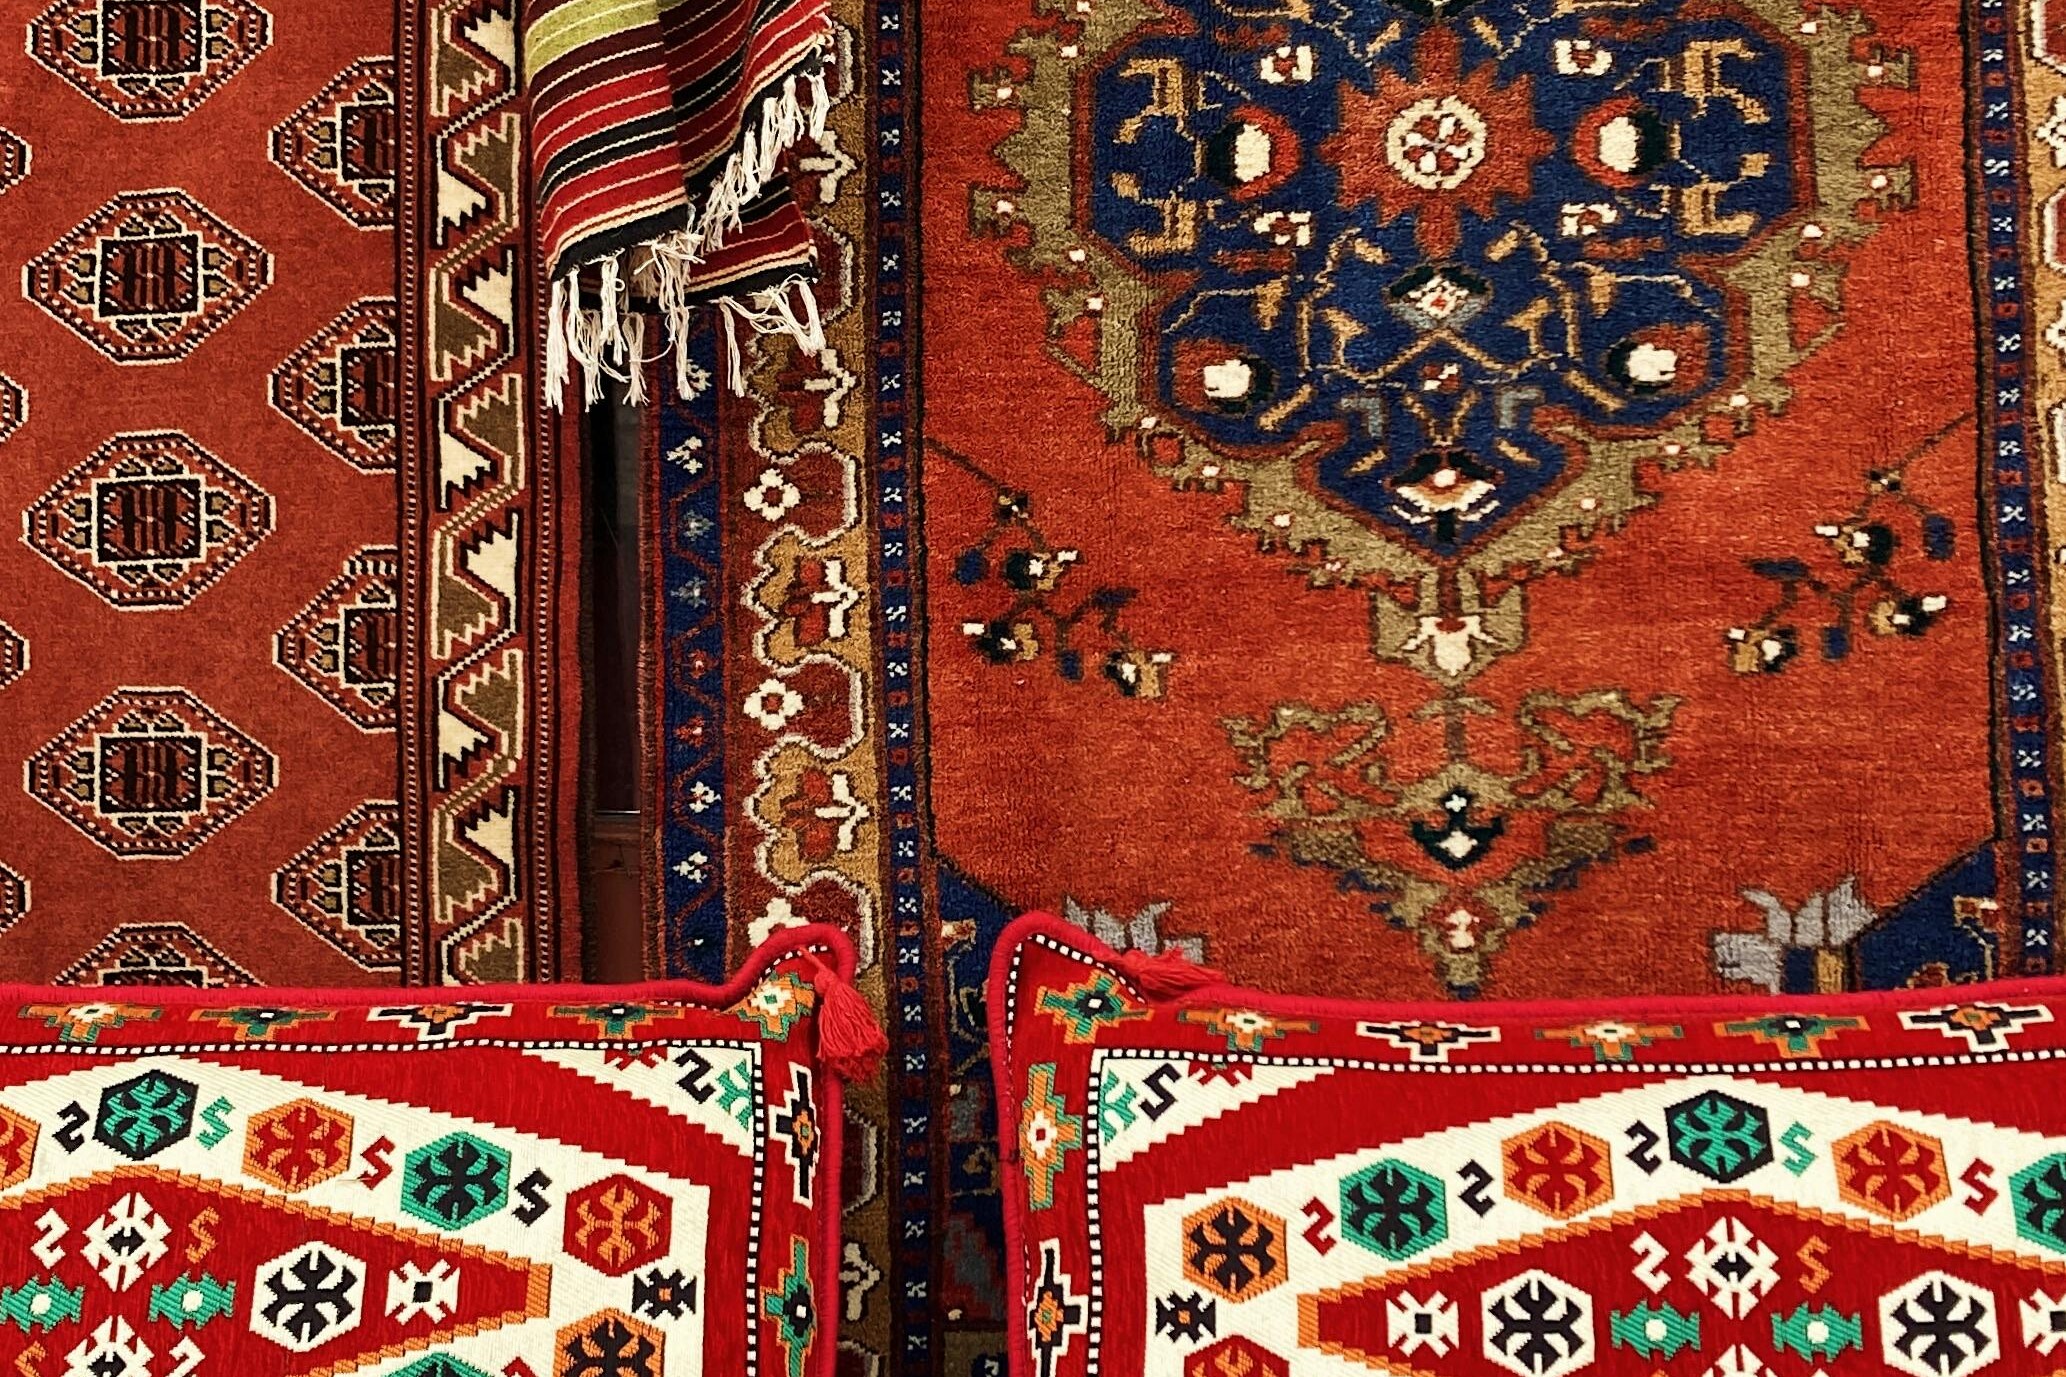
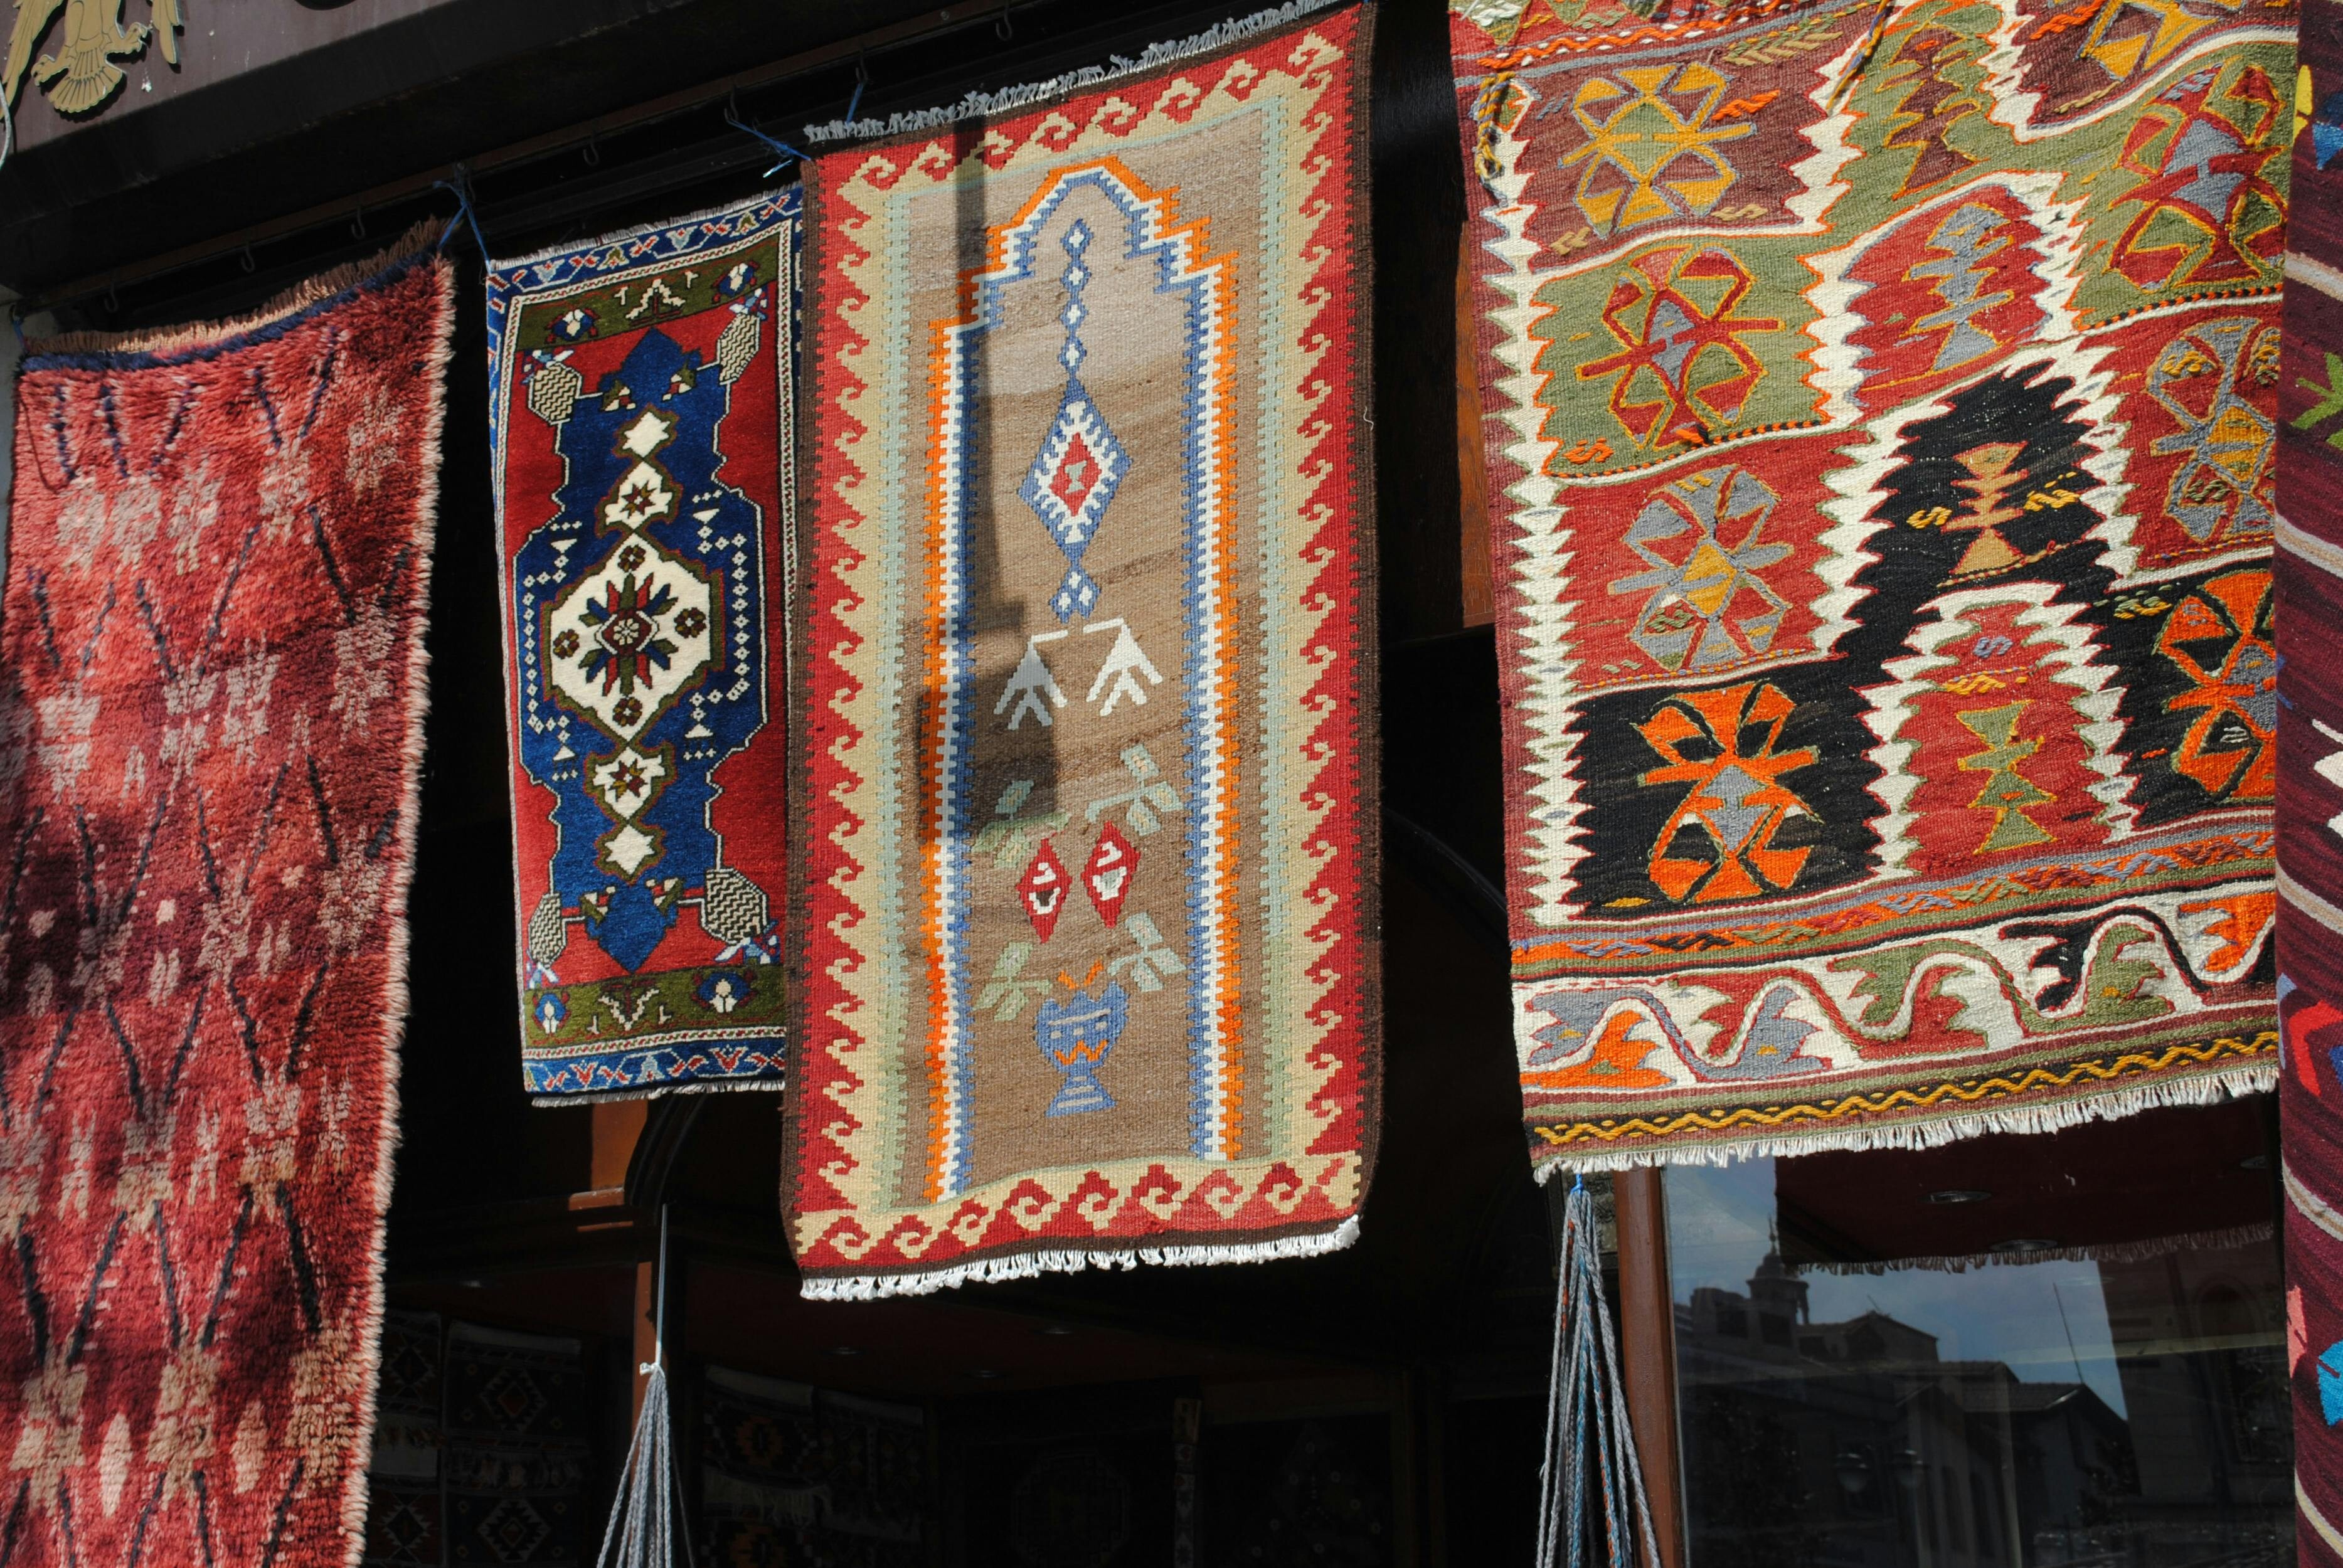
Woven items, such as baskets, rugs, and textiles, are cherished for their beauty, craftsmanship, and functionality. Whether you’re an artisan who creates these pieces or an enthusiast who collects them, proper maintenance is key to preserving their integrity and appearance over time. In this comprehensive guide, we’ll explore practical tips and best practices for cleaning, storing, and caring for your woven treasures. By following these steps, you can prevent damage, extend their lifespan, and continue to enjoy their unique charm for years to come.

First and foremost, understanding the materials used in your woven items is crucial. Woven crafts can be made from natural fibers like cotton, wool, jute, or synthetic materials, each requiring specific care. For example, natural fibers are often more delicate and prone to moisture damage, while synthetics might be more durable but sensitive to heat. Always check for any care labels or consult with the maker if possible. If in doubt, err on the side of caution to avoid irreversible harm.

When it comes to cleaning woven items, a gentle approach is best. Start by removing loose dirt and debris with a soft brush or by gently shaking the item outdoors. For deeper cleaning, avoid harsh chemicals and opt for mild, pH-neutral soap diluted in water. Use a soft cloth or sponge to dab the surface, working in the direction of the weave to prevent fraying. Rinse with a damp cloth and allow the item to air dry completely in a well-ventilated area, away from direct sunlight or heat sources, which can cause fading or warping. woven rug

Storing woven items properly is equally important to prevent damage from pests, moisture, or physical stress. Choose a cool, dry place with stable humidity levels, as excessive moisture can lead to mold or mildew, while dryness might cause brittleness. Avoid stacking heavy items on top of each other, as this can distort shapes or create permanent creases. Instead, use acid-free tissue paper or breathable cotton bags to wrap items, and consider placing them on shelves or in containers that allow for air circulation. For larger pieces like rugs, rolling them with the pile facing outward can help maintain their form.

In addition to routine care, regular inspections can help you catch issues early. Look for signs of wear, such as loose threads, discoloration, or insect activity, and address them promptly. For valuable or antique woven items, consulting a professional conservator might be worthwhile to ensure proper handling. Remember, prevention is better than cure—avoid placing woven items in high-traffic areas or exposing them to direct sunlight for prolonged periods.

By incorporating these tips into your maintenance routine, you can protect your woven wonders and keep them looking vibrant. Whether it’s a handmade basket or a cherished rug, a little care goes a long way in honoring the artistry and effort behind each piece. Share your own experiences or questions in the comments below—we’d love to hear from you!

Contacts

+448219695084
-
-
104, Parade Gardens, Chapel End, Chingford, London Borough of Waltham Forest, GB-WFT, London

Our Team

Sophia Thomas

Sophia Thomas

Business Development Director

Matthew Martinez

Matthew Martinez

Procurement Director

Alexander Jackson

Alexander Jackson

Production Director